
November 17, 2026
How to Set Up a Sprinter for Overland Travel
A Mercedes Sprinter makes a capable base for overland travel. The right setup depends on where you drive, how long you stay out, and how much you need to carry. This guide covers the main areas to plan: roof storage, rear access, front protection, and power.
Start with how you travel
Before you fit anything, decide what the van has to do. A weekend trip on forest tracks needs different kit from a long stay on remote roads. Make a simple list of what you carry most often, such as recovery gear, tools, water, bikes or camping equipment. That list will tell you where storage belongs and what needs to be easy to reach.
Roof rack for extra carrying space
A roof rack adds usable space without taking up room inside the van. Tubular aluminium racks are a common choice for Sprinters. Check that the rack matches your van’s make, model and wheelbase before you order, because fitment varies by generation and year. Some racks mount to the factory roof fixing points, so no drilling is needed. If you plan to mount solar panels, check whether solar supports are available for your rack.
Rear access and storage
Rear access decides how easily you can get to your gear at a campsite. A rear ladder gives you a way up to the roof and a platform for mounting a spare wheel or extra kit. Rear storage boxes, such as a lockable aluminium box, keep items secure and off the cabin floor. Think about how you will open the doors when the van is parked close to a wall or another vehicle, and leave room to reach the box.
Side access
Sill lockers and side access points help you store items you use often, such as chairs, hoses or cables. Fit them with the rest of your layout in mind so that they do not block a door or a route to the living area.
Front protection and lighting
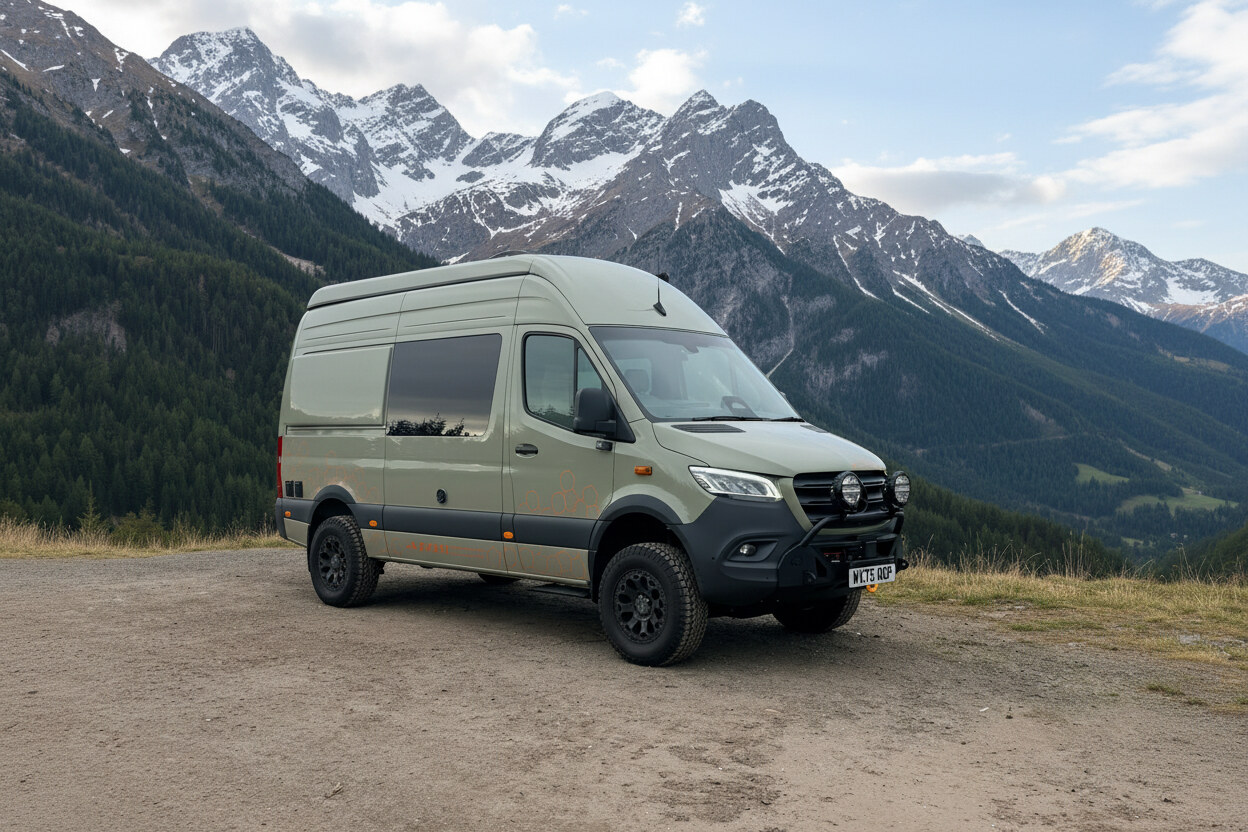
The front of a van takes the most impact on rough tracks. A winch bumper can add protection and a mounting point for a winch, which is useful if you travel in areas with soft ground or steep climbs. Auxiliary lights are often mounted on the bonnet or ditch light brackets, so that you can see further after dark. Check that any front fitment works with your van’s grille, sensors and headlights.
Plan your power
Most overlanders need power for lights, fridges, water pumps and charging devices. Start with a first-pass plan. List the appliances you use, how many hours a day you expect to run them, and how you will recharge the battery. Options include a battery, solar charging, a DC to DC charger and a mains charger for when you are on a site with hook-up. A simple plan helps you choose the right size system before you buy.
Final checks
Once the parts are fitted, that the doors still open fully, and that the lights and number plate remain visible. Then take the van out for a short test run on the kind of track you plan to use. Adjust straps, bolts and cables after the first few trips.
For a full view of the parts available for adventure vans, explore the Blackridge Overland Gear range and choose the fitments that match your van.